Monday, May 5, 2014

Donnie's Gibson Grabber

Up next thru The LowDown Repair shop is a real cool, vintage bass.  The Gibson Grabber is a very unique instrument that I had never played and was real excited to check out.  This one came from a multi instrumentalist/band director buddie of mine Donnie.  He wanted to swap out the stock bridge for something nicer and the bass also needed a new set of strings and some general TLC.  Normally, I would advise against replacing stock hardware on a collectible, vintage piece of gear like this, but since the bridge cover was already missing I figured it wouldn't affect the potential re sale of this instrument anyways.  Plus, Donnie assured me he had no interest in selling this thing in the near future anyways. Other than the bridge swap I asked if he wanted anything else done.  He preferred the feel and sound of the worn frets and the vintage mojo all over the bass.  The Grabber features a pickup that is mounted to a piece of plastic that is moveable to get different pickup locations on the fly. Donnie had recently repaired the broken sliding piece so I knew that it was good to go.  So really my job was just to make it feel as good as possible without changing much other than the bridge.
I started by taking off the 3 strings that were on the bass and the stock bridge.

This thing was pretty dirty so i went about cleaning it.  The normal finish cleaner I use was a little harsh for the worn finish so I used rubbing alcohol and a lot of elbow grease. Then I followed it up with some Howards Feed N Wax to polish things up.  Then I pretty much took the same approach with the fretboard and hit the neck with the usual scotchbrite/Howards combo.  Then I took off the pickguard and pickup combo and noticed the bridge ground was not attached. Moved all that stuff off to the side and started on bridge placement.
We decided to go with a BadAss II bridge because of it's good reputation, look and solid overall build quality.  Unfortunately this would mean this bass would not have the string thru body option anymore but the ferrules and the general area of where the strings were passing thru the back of the body was a mess on the bass, so better to just bypass it all together.  I taped of the general area and measured out the proper placement.
I ended up nudging it toward the headstock a bit because I wanted it cover up as many of the original bridge holes as possible. The original calculated 34" scale placement put it a little farther back than ideal for visual reasons, but the BadAss bridge has such long intonation screws that it allows for a little more leeway than normal. Here it is with the new bridge installed and ready to go and with the pickguard and pickup re installed and bridge ground re soldered.  Also was missing a pickguard screw so I threw one on.
The other main issue was the butt end strap button was stripped out.  When I took it off  I saw that the damage was pretty bad. It looked like someone had tried some kind of putty to fill it before so I had to strait by cleaning everything out .
Then I plugged it with a dowel and tried re drilling.  Unfortunately, the plug didn't hold and tore out.  The area was just too much off a mess.  So I re plugged it once again and decided to redrill the hole into the original body wood slightly off center from the original strap button hole.  I did that and reinstalled the button and it worked great.  Wasn't too noticeable that it was off and was solid.
Then I got the bass re strung with some nice D'Addario nickels. The neck had a TON of back bow so I took the truss rod cover off and started adjusting.  Got it nice and dialed in and finished the rest of the setup. Plugged it in and everything sounded great and was playing smooth. Tightened up the rest of the hardware and The Grabber was ready to go!
13.  Donnie's Gibson Grabber
- Swapped stock bridge with BadAss II
- Plugged stripped strap button hole and reinstalled strap button
- Re soldered detached bridge ground wire
- Setup, re string, cleaned and tightened hardware

Thursday, April 24, 2014

Saam's Electric, Acoustic and Amp

Next up are some repairs for Saam Hagshenas of the band Hey Champ. In the past I repaired a Fender P bass for the band's recording studio.  This time it was a couple of Saam's guitars.
First was a well worn Fender Bullet guitar. This thing definitely is naturally relic'ed and it needed a little love.  The main issue was the electronics were not working correctly.  After playing it plugged in for a couple minutes I knew it was the jack. Sure enough, opened here up and found the output jack ground wire was detached.
Soldered it back on and double check all the wiring.  Before I attached the pickguard and harness back I decided to make my life easier by opening up the truss rod access channel.  I could tell someone had already tried this but didn't follow thru.  The pickguard already had a small ugly cut out near the truss access. 
Then cleaned up the pickguard area
Got everything reattached and gave it a thorough cleaning and setup.
Next came an acoustic Fender that was having some fret problems.  I found some high frets and went to work with my fret file.  Brought the guitar into my friend Carl Pedigo and had him double check the work. He touched things up and I crowned and polished the frets.  Unfortunately I took a little too much fret off the 2nd fret, low E string side.  So I am waiting on some tools to pull that fret out and re fret it.
In the process of taking the strings out the G string snapped on me. Also, two of the bridge pins were broken.  I had to poke one of the out thru the body and in the process found a nicely worn guitar pick. 
So I replaced the broken bridge pins and re strung this baby up and gave it a setup. Plays way better with the exception of that low F#.

I am also happy to announce that I am now working in conjunction with Wilson Electronics Repair. https://www.facebook.com/wilsonelectronicsrepair

We had our first collaboration with Saam's old Gibson GA15 amplifier.  Jacob diagnosed the problem and fixed it quickly. It turned out to be a bad power switch. I am looking forward to working with Jacob. He will be handling any amp, keyboard, pedals, or electronics repairs that come thru the shop.

12.  Saam's guitars and amp
- Re soldered output jack ground, opened up truss rod access, setup, cleaned, tightened hardware on Fender bullet
- Fret level, replaced broken bridge pins, setup w/re string.
- Gibson GA15 amp switch repaired by Wilson Electronics Repair. 

Friday, March 14, 2014

LowDown Basses #001 & #002

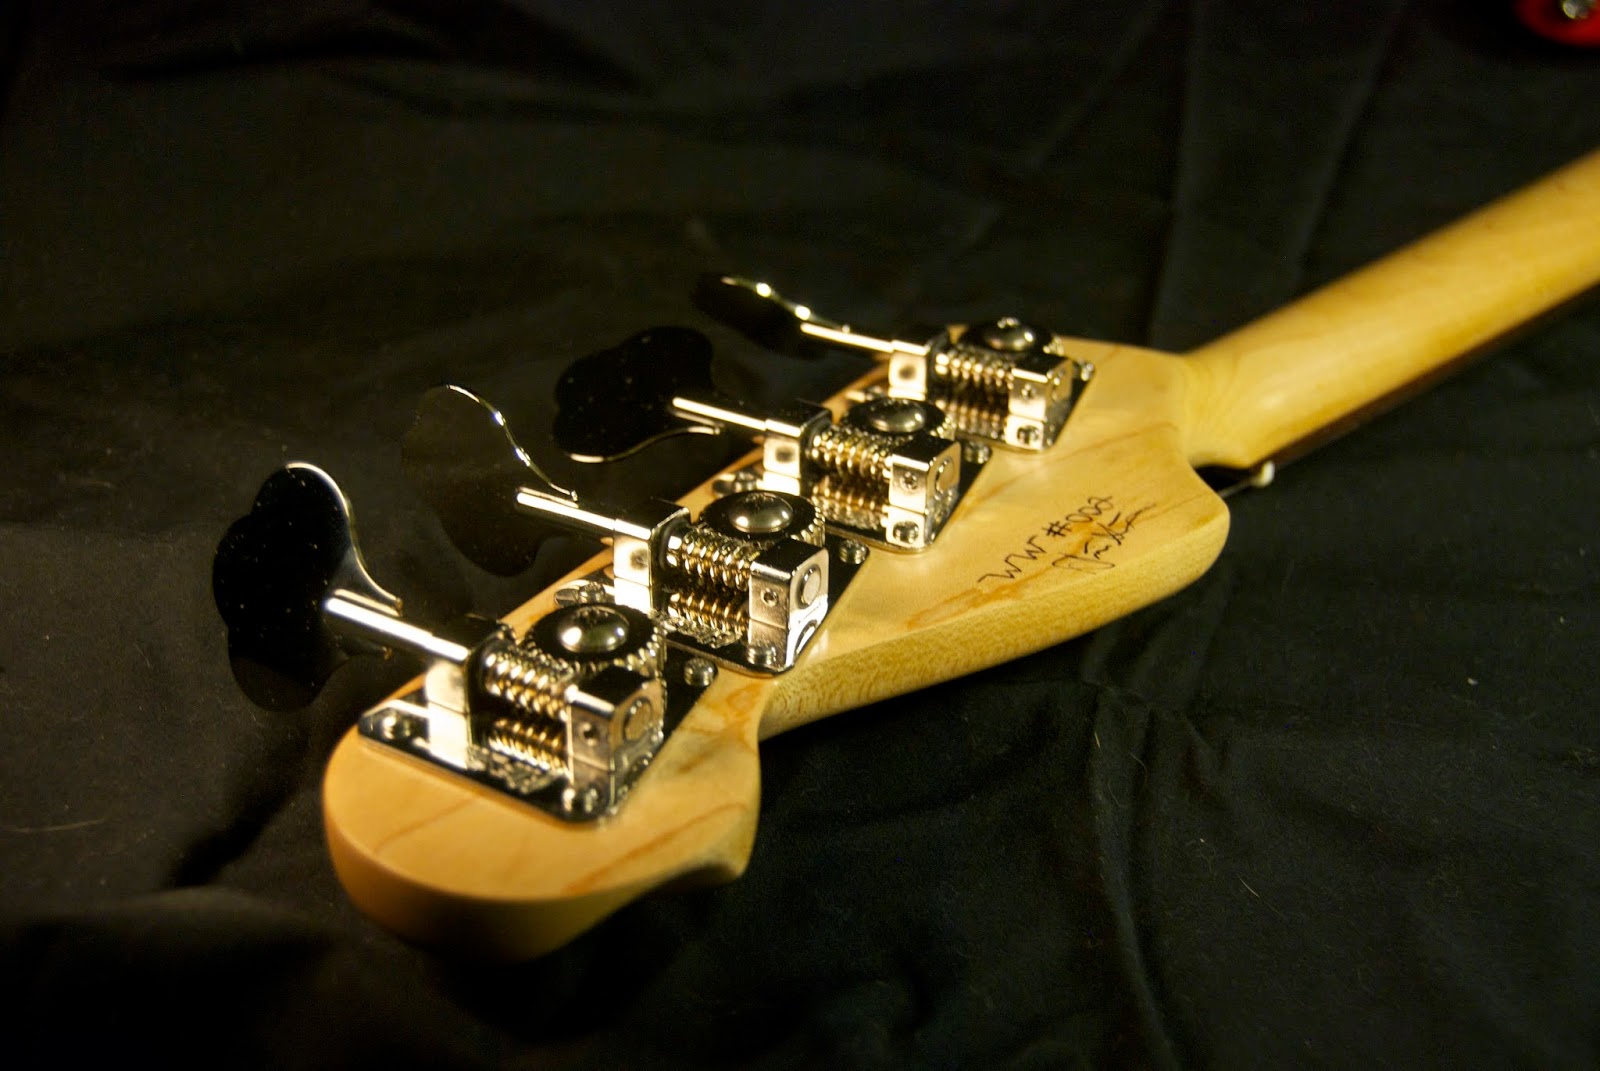
Here are the very first 2, in what will hopefully be a long line, of LowDown Bass Guitars.  These two basses represent my discovery of building and repair and how much I have come to love it.  I learned so much in the process of building these and am very excited to see how #003 & #004 turn out… stay tuned!  Special thanks to JLee Photography for the photos. (And no these are not for sale, I'm keeping these 2!)
Specs.
LowDown Basses #001
"The Koa Jazz"
Ash Body/Mahogany Veneers/Figured Koa top and back
Maple Neck/Rosewood Fretboard
Aguilar OBP3 Preamp (Bass/Treble/Mid -push/pull freq./Active-Passive Switch)
Nordstrand MM 4.4 w/3 way coil switch and Nordstrand NJ4SV pickups
Hipshot Ultralite Tuners/Gotoh 201 Bridge/Dulop Dual Design Straplocks. Gold

LowDown Basses #002
"Fire Red P Bass" (Strung with LaBella Deep Talkin' Flats!)
Basswood Body/Custom Fire Red Sparkle Finish
Maple Neck/Rosewood Fretboard/Quilted-Birdseye Maple Headstock Cap
LowDown Quilted-Birdseye Maple Veneer Pickguard
Nordstrand NP4 pickup/Passive/CTS Pots/Orange Drop Cap.
Hipshot Transtone Bridge/Hipshot HB2 Tuners/Dunlop Dual Design Straplocks. Chrome

Here are links to see the build history for both basses.
Fire Red P Bass (also LowDown Basses #003) - http://www.talkbass.com/forum/f57/2nd-build-nostalgia-bass-1030067/

Tuesday, March 4, 2014

Joel Norman's Guitars and a Michael Kelly Acoustic Bass

Things stay pretty basic this time around with 2 guitars and 1 bass.
1st up is 2 guitars that belong to my good friend and musician extraordinaire S. Joel Norman. 
The Strat got a re string, setup and cleaned and tightened all the hardware.  Here is a pic of the happy guitar!

Then I tackled his nice, well worn Guild Acoustic.  First it got a re string and a thorough cleaning.  Then I tackled replacing the broken input jack.  The jack had ceased to hold a cable in place.  I removed the nut and tried un screwing the jack.  It didn't budge.  I tried tapping it loose with a hammer and wood block.  Nothing.  I tried wrenching it off with pliers.  Not a budge.  So I brought it over to my good friend Carl Pedigo to take a look.  He went at with a bunch of tools before finding a clamping wrench and rotating it counter clockwise.  Then he was able to work it the rest of the way out.  It had actually threaded into the wood of the guitar because the hole wasn't reamed out properly, you can see what it did to the guitar below.
Then I pulled out and disconnected the old jack.  It was in pretty rough shape.
And installed the new one.
And finished up by fixing the new jack to the body.  
Finally, I replaced a broken nut on a Michael Kelly acoustic bass that I wanted to sell.  The old one broke while re stringing.  Here is a picture of the final, hand carved bone nut.
11.  S Joel Norman's guitars and a Michael Kelly Bass
- Re string, setup, tightened hardware, cleaned Strat
- Re string, cleaned Guild acoustic
- Replaced broken jack with Fishman Stereo Jack
- Removed old nut and installed hand carved bone nut on Michael Kelly Bass
- Re String, cleaned, setup, tightened hardware on bass

Wednesday, February 19, 2014

Arthur's Brubaker Brute 5 string

Next up is some work on a bass that belongs to a student of mine. He has a Brubaker Brute bass which is Brubaker's "budget" line of basses.  Arthur had Villex pickups in the bass and wanted to match them with a Villex preamp.  He was able to find one and asked me to install it.  It definitely turned into more than just a simple preamp swap.
First off, I took off the pickguard to take a look at what was in this thing electronics wise.


To my surprise I realized that it was wired passive and the battery leads were just hanging free.  Also, I was surprised to see the shielding job in there.  Not the cleanest and solder everywhere.
I proceeded to take off the strings and find that the E String bridge saddle didn't have a intonation screw or spring.
Also in the process of taking the strings off I found that the B String tuning key and become smashed and was clamping the end of the B String.

I was able to work the string out then attempted to just bend the tuner back in place.  No dice, it broke.
I set about ordering the new parts needed and disconnected all the controls in the cavity and taped off the pickup and battery leads.
Then I tried to make sense of the Villex "preamp" Arthur gave me.  First off, there were 4 knobs that just looked like simple pots and one with a strange module on it.

I was able to eventually figure out that the system was setup for two volume controls and a 3 band EQ. I taped off the volume knobs for future reference.
After a lot of searching I was able to find out the preamp was a Villex passive NVT tone module.  I was also able to find 2 Villex wiring diagrams online.  One was for 2 volumes using all 4 of the pickup lead wires and a 2 band preamp, and the other was for pickups with 2 wires and a 3 band preamp.  I eventually called and talked to WIlliam Villex and he informed me that the Villex classic pickups in the bass were not meant to work with the NVT preamp.  I was surprised but decided to give it a go and wire it up anyways.
It appeared everything was working when I wired it up.  Although, when I was doing the tap test I noticed one of the EQ knobs seemed to be working much more than the others.
This bass previously only had 4 holes in the pickguard for preamp and 1 for the output jack.  Obviously the NVT is a 5 knob system so I had to install a side mounted input jack.  I started by matching the curvature of the jack to the butt end of the bass and seeing if it would work with the pre existing control cavity.  I found my spot and drilled a pilot hole to where I wanted it to be installed.
Then I dug out the area with the smallest Forstner bit that would work for the size of the jack.
I also drilled the screw mounting holes for the jack.  The jack route didn't lead directly to the control cavity so I had to drill a hole for the lead and ground wires to the jack.
Then I wired everything up and was getting a really bad buzz.  Double checked all my grounds and even swapped out the pot on the module.  Realized that I had my output jack wired backwards.  Fixed that and set the controls and jack into their respective cavities.
Then I attached everything to the pickguard and closed it up to make sure it would fit.  Here is a shot of the jack fully installed.
I added some extra foam under the pickups to boost em up a little higher.  The original foam was pretty compressed.

I also replaced one of the pickup screws which had stripped.  Then I also found out the pickguard screw hole at the control are tip above had stripped out.  Because of it's important placement I decided to plug the hole and re drill for the screw to hold tight.
Then I installed the new tuner, and the new bridge saddle.  Ended up swapping out the volume pots with some nice CTS pots I had in the shop. Strung it up with some D'Addario Nickels, gave it a setup, tightened all the hardware, rubbed down the back of the neck with some #0000 steel wool and hit it with some wax to smooth it out.  Plugged it and was very surprised to find out that the bass actually sounded real good.  The Villex pickups have a very high output and I am sure that is what William was talking about with problems paired with the NVT.  The NVT works like multiple passive tone controls.  When the tone knobs are all the way open the signal is passing thru unaltered.  Rolling down the knobs starts to bleed the frequencies from the output. The high end is a dead ringer for a jazz bass style passive tone control.  The bass knob removed a little bit of low end which was useful since these pickups are so hot. The mid knob was the most dramatic and added in a significant scooped mids sound that I suspect in small doses would be nice for slapping.
Here she is all ready for her owner
10.  Arthur's Brubaker Brute
- Installed Villex NVT tone control system
- Installed side mounted input jack
- Installed new B String tuner and E string intonation screw and spring
- Setup, re string, clean, tightened hardware

Thursday, December 12, 2013

Epiphone AccuBass Restoration

Up next is an Epiphone AccuBass I picked up on craigslist as a restoration project.
When I originally picked this thing up it was in decent shape but definitely had some issues.  The bridge was missing the G String saddle, it wasn't strung up and there were the usual cosmetic issues associated with a used bass.  Plus, upon further inspection I found that the E string tuner was loose and there was a small crack near the tuning peg.
So, first I went to work on the tuner issue.  I plugged the hole with a dowel first.


I let the glue settle and then trimmed the dowel down to size.  Then I redrilled the tuner hole and reinstalled the tuner.  Viola! Problem solved.  Next thing I wanted to do was take a look inside at the electronics guts.  I took everything off and noticed that the pickup was not really in the best of shape.
So I installed Seymour Duncan Basslines P Pickup
Unfortunately, upon further inspection I found that the pickup winding lead had become disconnected from the pickup.  So I took the SD pickup out until I can get it fixed up. I had an active EMG P pickup in the shop from another part out project, so I threw that one in there instead.  Also, by some miracle, I had the exact same bridge from a part out.  So I just removed one of the saddles from the other bridge and threw it on this one.
Then I strung it up with some brand new Ernie Ball round wounds, gave it a setup, and cleaned everything up.  Gave the back of the neck the usual scotchbrite pad rub down and a little wax to smooth it down.  And now she is all ready for a new owner.
9.  Epiphone AccuBass Restoration
- Repaired broken E string tuner mount
- Repaired bridge
- Swapped stock pickups for EMG active P bass pickups
- Re string (roundwounds), setup, cleaned, tightened hardware